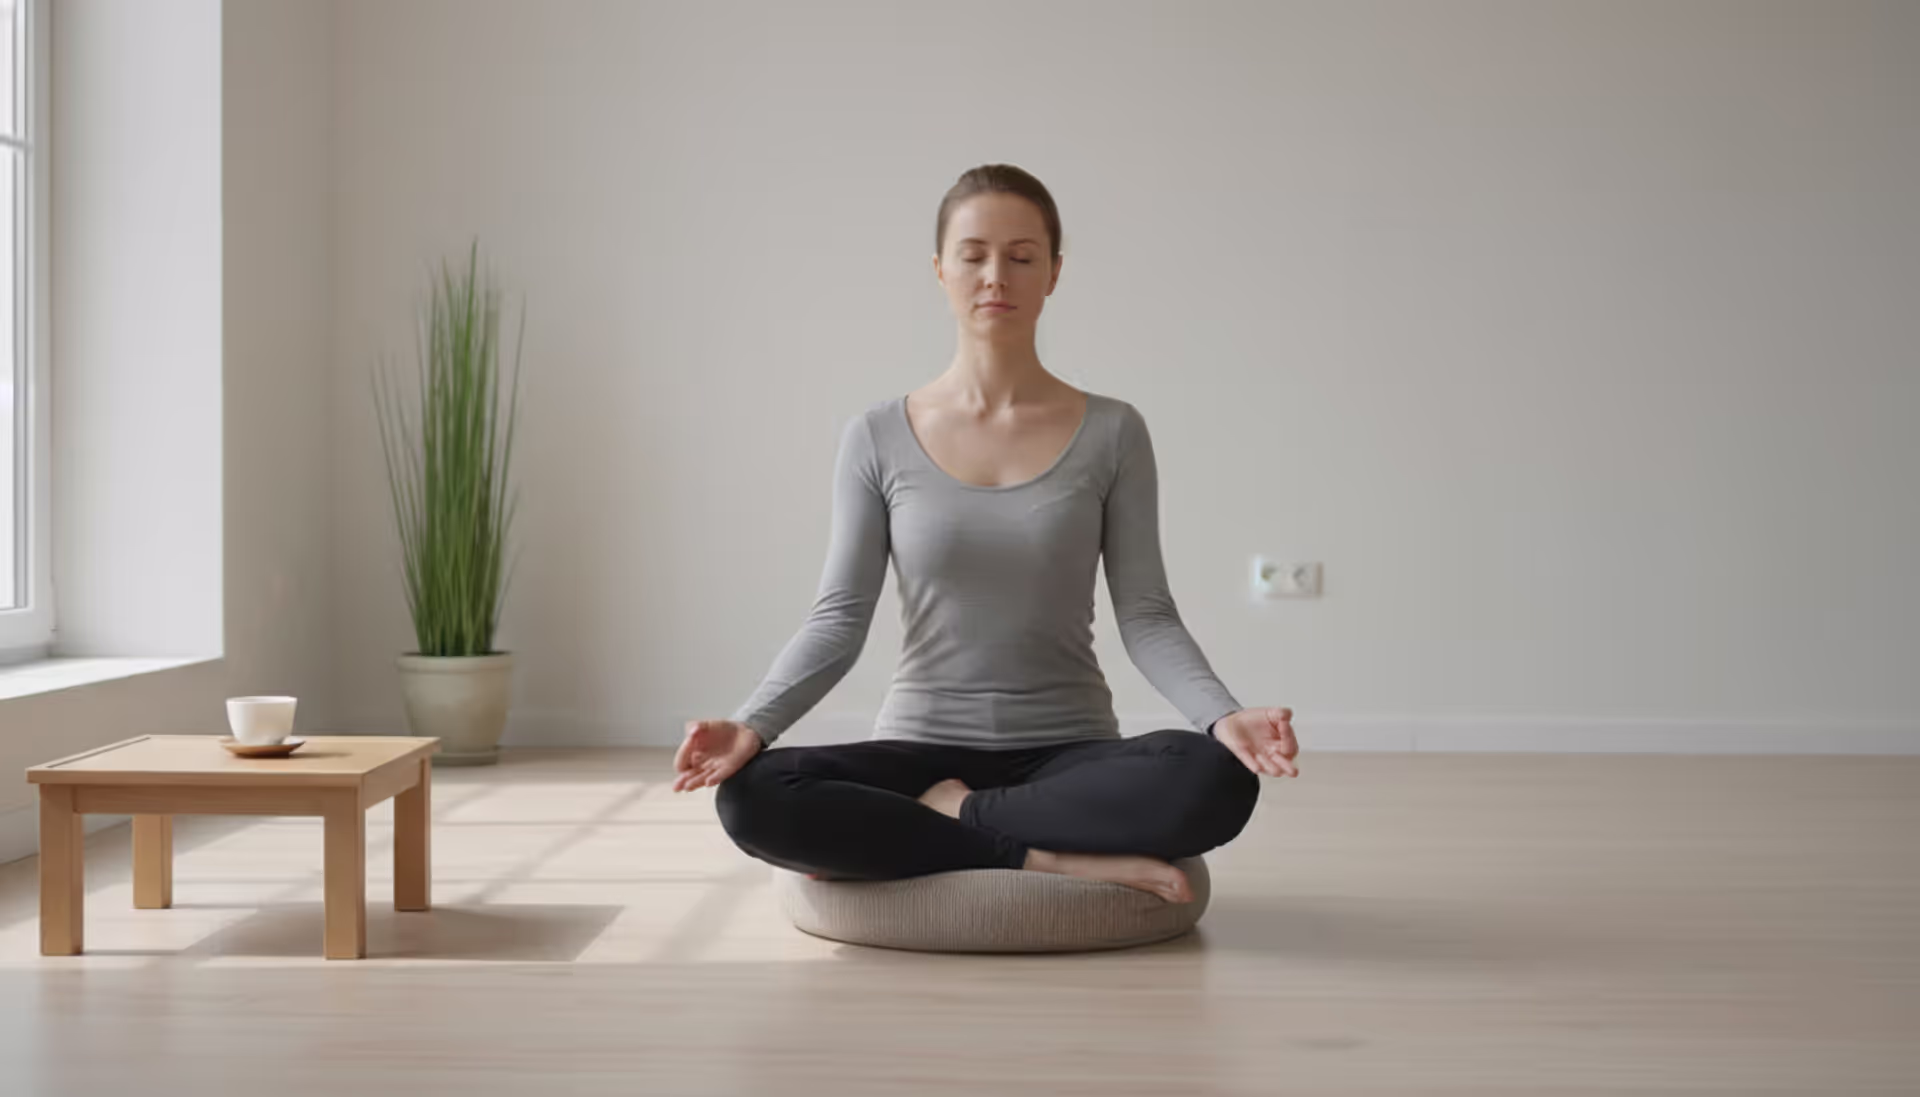
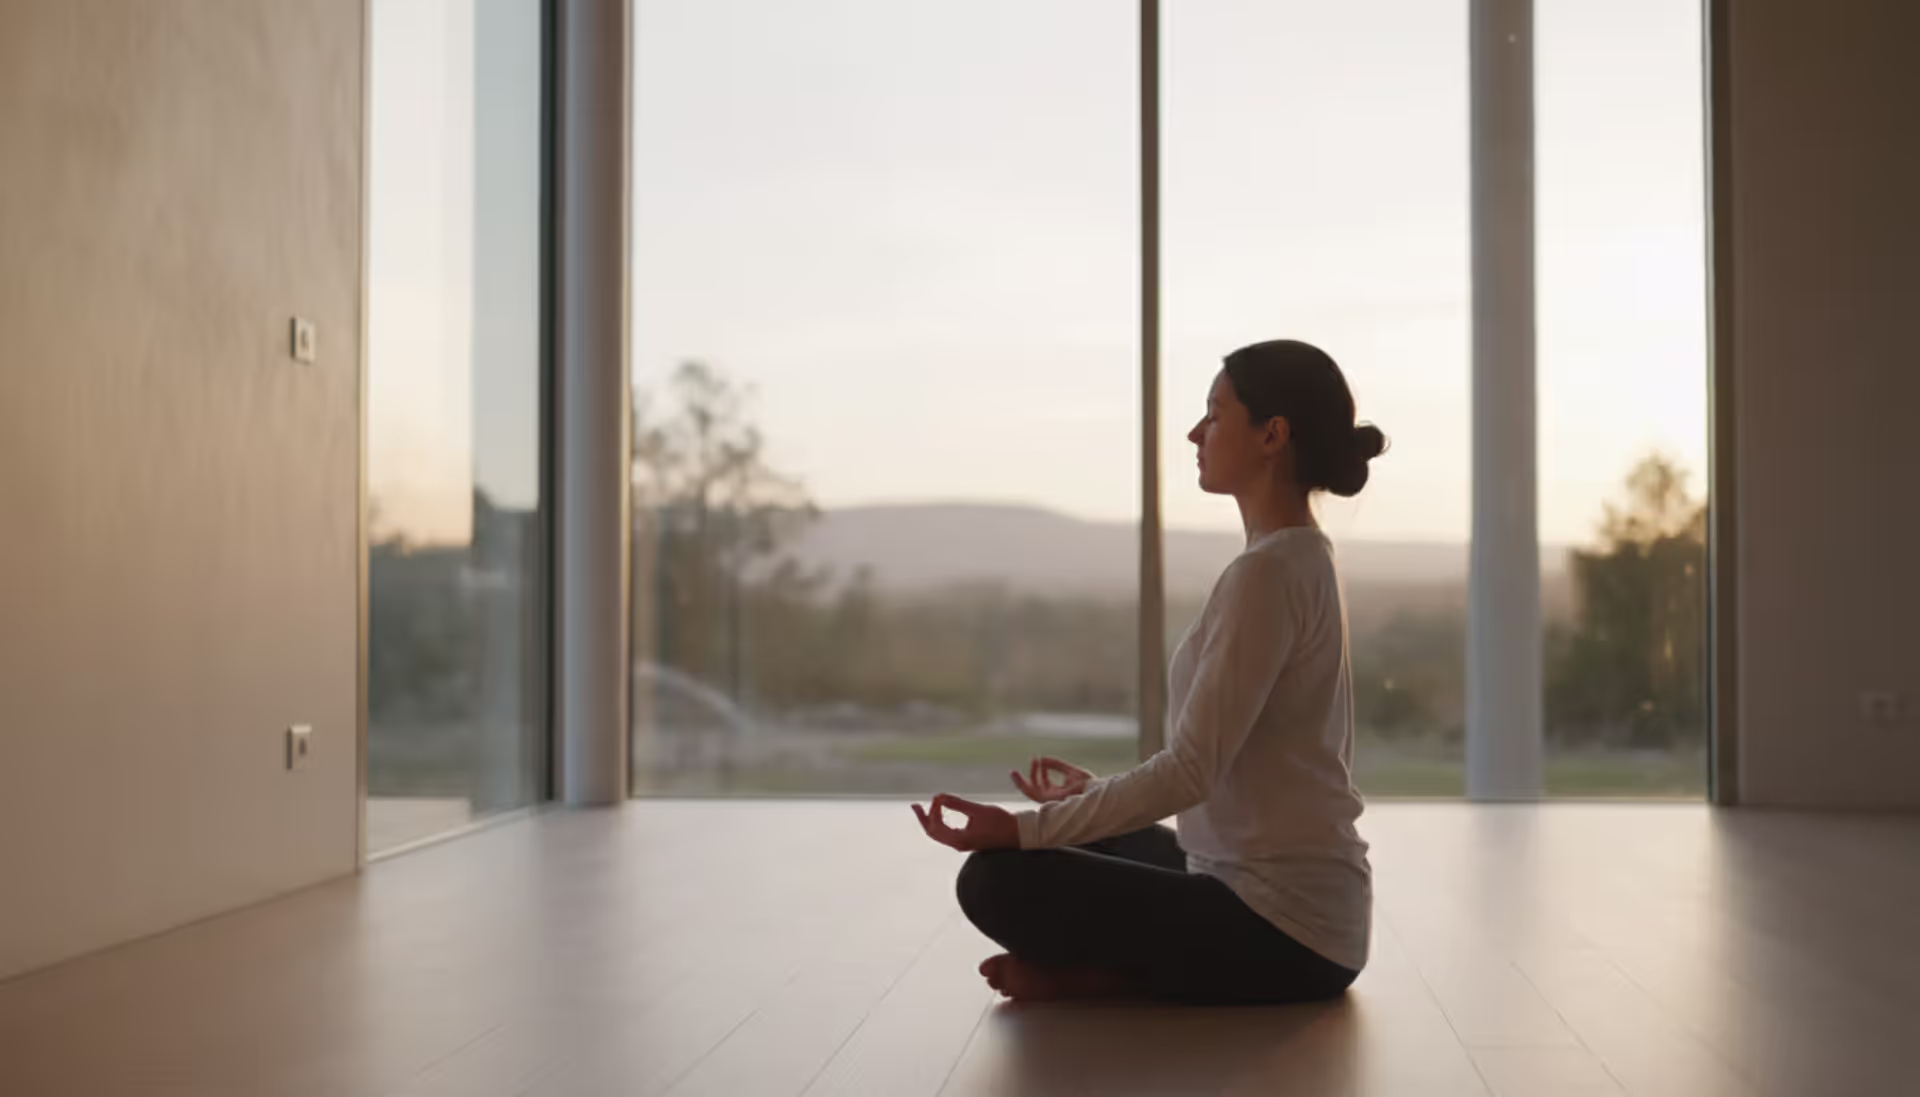
The way you position your body during meditation directly influences the quality of your practice. A stable, aligned posture creates the foundation for sustained attention, while poor positioning can turn a 20-minute session into an endurance test of aching knees and a wandering mind.
Most beginners assume meditation is purely mental work, then wonder why their back starts screaming after five minutes. The reality? Physical structure and mental clarity are inseparable. When your skeleton supports itself efficiently, your muscles can relax, your breathing deepens naturally, and your nervous system settles into the calm state that makes meditation possible.
Why Your Meditation Posture Matters
Your body position for meditation affects three critical systems: structural support, respiratory function, and nervous system regulation.
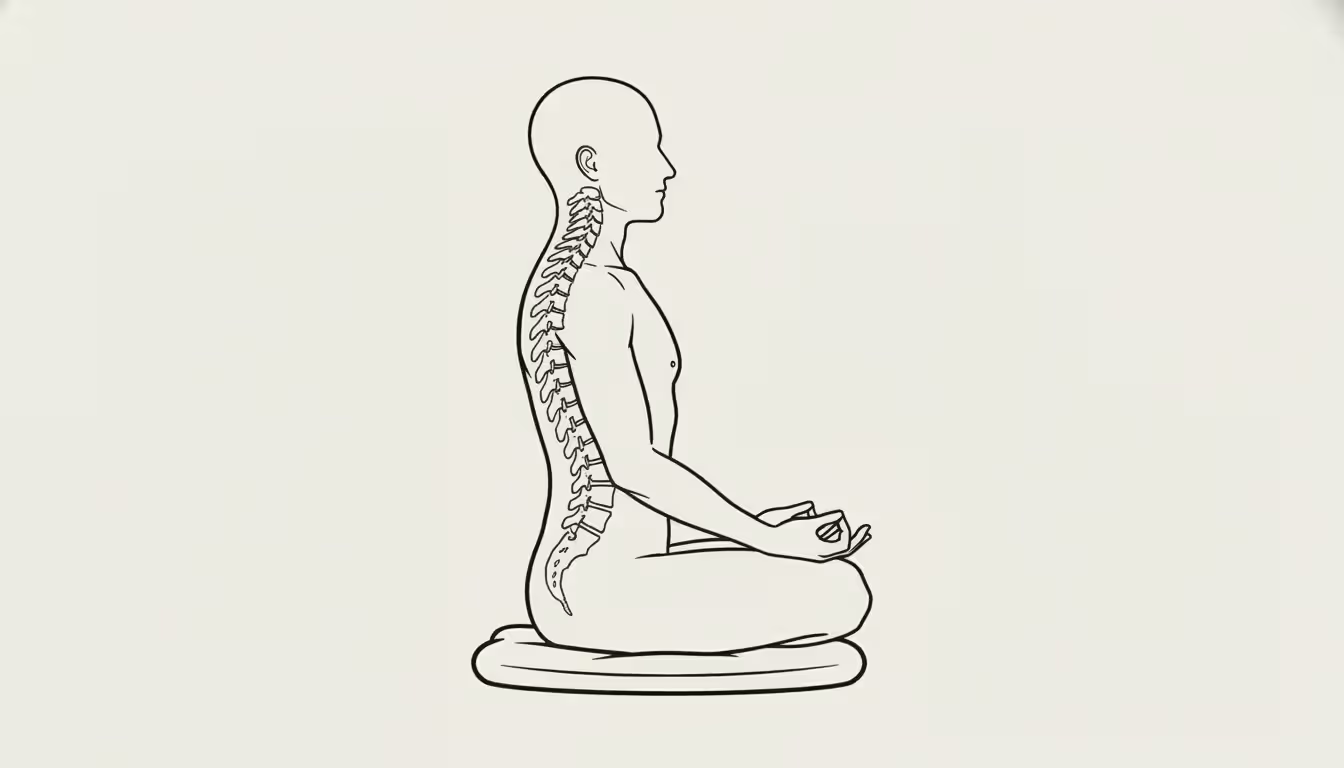
Think about structural alignment this way: when you stack your spine correctly over your pelvis, your bones do the heavy lifting instead of your muscles. Gravity flows through your skeleton rather than creating tension points that scream for attention. This matters because muscular effort generates mental noise—you can't fully relax when your lower back is straining to keep you from toppling forward.
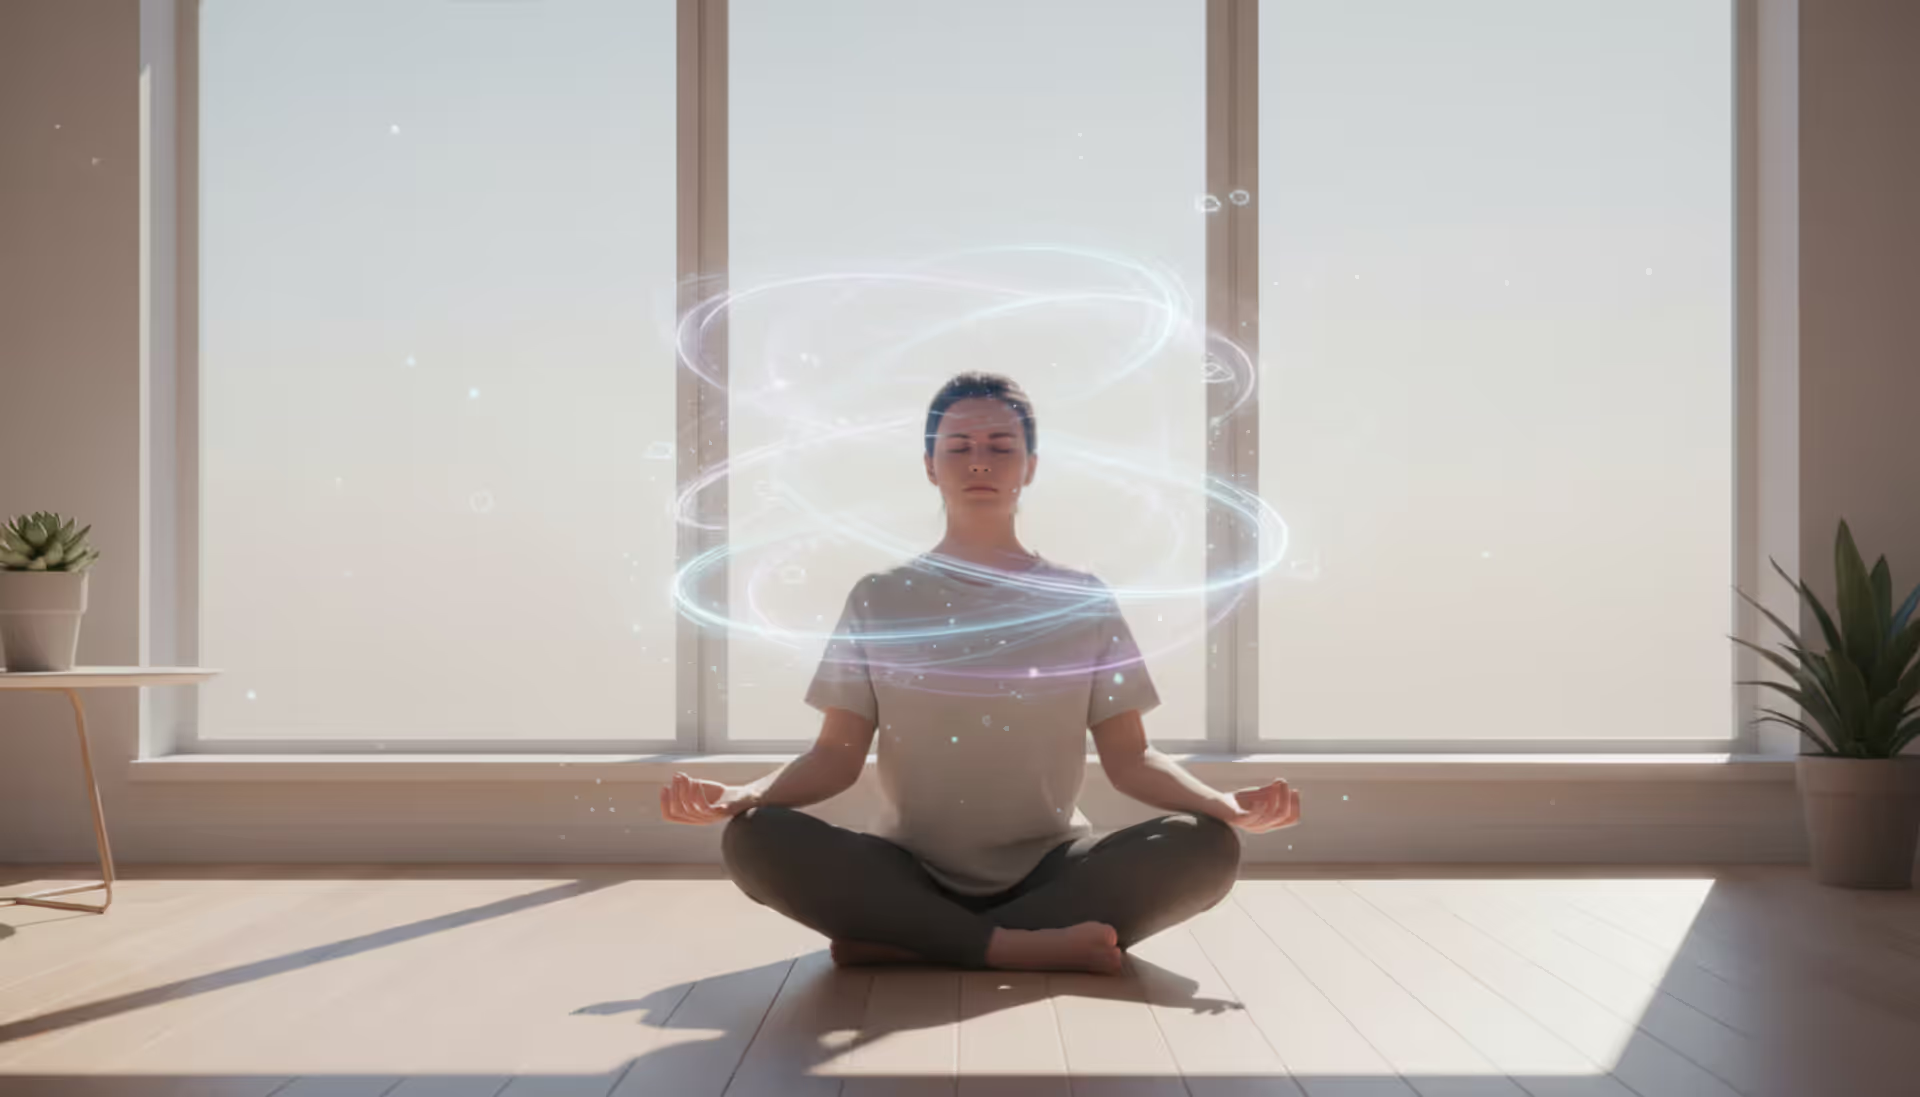
Here's something most people don't realize about breathing: a collapsed chest restricts diaphragm movement by as much as 30%, forcing shallow breathing that keeps your sympathetic nervous system activated. Correct alignment for meditation opens the front body, giving your diaphragm full range of motion. This shift enables the slow, deep breathing that triggers parasympathetic activation—the physiological gear change toward calm that supports meditative states.
Your nervous system reads postural signals as threat assessment data. Slouching mimics defensive postures and can subtly maintain stress responses even when you're trying to relax. An upright but relaxed spine sends your brain a different message: you're alert yet safe. That's the sweet spot for sustained attention without strain.
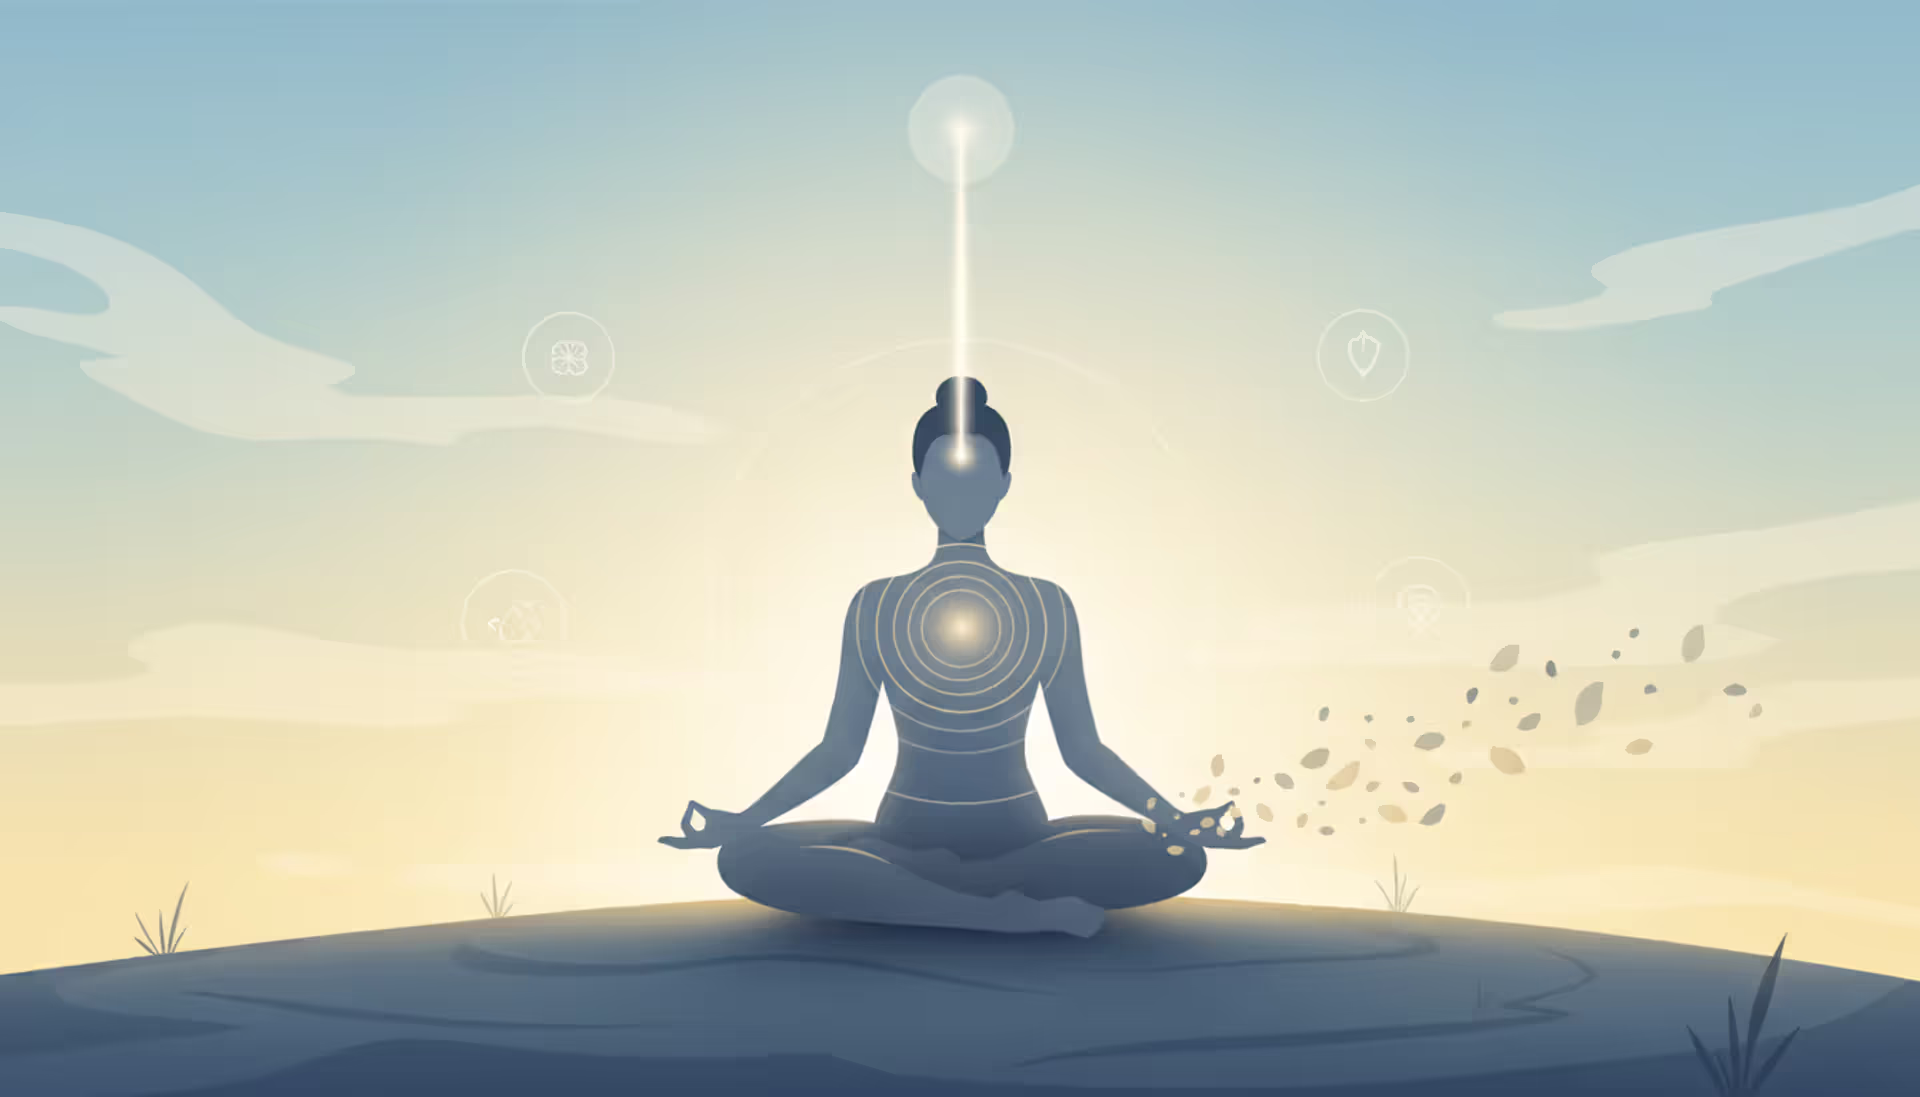
Research from contemplative neuroscience labs shows that experienced meditators maintain specific postural patterns that correlate with improved focus metrics. The physical form isn't arbitrary tradition—it's functional design refined over centuries of trial and error.
Author: Caleb Montrose;
Source: 5sensesspa.com
Traditional Meditation Positions Explained
Every sitting meditation pose works differently depending on your body type, how flexible you are, and which meditation style you practice. There's no universal "best" option. The position that works is the one you can hold for 20 minutes without constantly shifting around.
Lotus and Half-Lotus Positions
Full lotus means crossing both feet onto the opposite thighs, creating a stable triangular base. Half-lotus crosses one foot onto the opposite thigh while the other foot rests beneath the opposite knee.
Setup: Start by sitting on a cushion elevated 4-6 inches. For half-lotus, lift your right foot onto your left thigh (or reverse this), tucking the other foot under the opposite knee. Full lotus requires placing each foot onto the opposite thigh, with soles turned upward.
Benefits: Once you can actually do it comfortably, the locked position offers exceptional stability. It prevents slouching almost automatically and creates a solid foundation that requires minimal muscular effort to maintain.
Best for: People with open hips and significant flexibility from years of yoga or martial arts. Definitely not recommended for beginners or anyone with knee issues.
Reality check: Forcing lotus position causes knee damage. Period. If your knees lift more than three inches off the ground or you feel any joint pain (versus muscle stretch), choose a different position. I've seen too many practitioners damage their meniscus trying to achieve this "advanced" posture.
Burmese Position
Both feet rest flat on the floor in front of you, one ahead of the other, with knees ideally touching the ground.
Setup: Sit on a cushion tall enough that your knees drop below hip level. Arrange one foot ahead of the other—they don't touch or overlap. Let your knees release outward and down naturally.
Benefits: Provides stability similar to lotus without requiring extreme hip flexibility. Most people can learn this within a few sessions.
Best for: Beginners and intermediate practitioners. Anyone who can sit cross-legged comfortably for 15-20 minutes without their legs going numb.
Tip: If your knees float high off the ground, you need more height under your sit bones. The elevation tips your pelvis forward, allowing your knees to descend naturally. Add cushions until this happens.
Seiza (Kneeling Position)
You kneel with your buttocks resting on your heels or on a bench placed between your calves.
Setup: Kneel on a padded surface with your knees together or slightly apart. Either sit directly back onto your heels or place a meditation bench (or thick cushion) between your calves and rest your weight there instead.
Benefits: Naturally promotes upright spine alignment without much effort. Excellent for people with tight hips who struggle with cross-legged positions.
Best for: Those with flexible ankles and knees but limited hip mobility. This is common among Zen practitioners and people with athletic backgrounds.
Caution: Can strain ankles and compress knee joints over extended periods. Use adequate cushioning and limit session length initially—start with 10 minutes and work up.
Chair Sitting
Sitting on a standard chair with feet flat on the floor.
Setup: Sit forward from the backrest so your spine supports itself. Position feet flat on the floor, about hip-width distance. Your thighs should run parallel to the ground or angle slightly downward toward your knees.
Benefits: Accessible to everyone regardless of flexibility. Eliminates lower body discomfort as a distraction, which is huge for maintaining focus.
Best for: Beginners, older practitioners, anyone with joint limitations, and people in office environments who want to meditate during work hours without changing clothes.
Optimization: Choose a firm chair over soft. Place a thin cushion under your sit bones to tilt your pelvis slightly forward, encouraging the natural lumbar curve.
The posture should be stable and comfortable. If you're in pain, you're not going to be able to concentrate. The point is to find a position where your body can be still enough that it's not a distraction, but alert enough that you don't fall asleep
— Sharon Salzberg
Finding the Right Meditation Hand Position
Meditation hand positions (mudras) serve both practical and symbolic functions. They give your hands a default resting place and can subtly influence your mental state.
Cosmic mudra (Zen tradition): Place your hands in your lap with your dominant hand underneath, both palms facing up, fingers aligned horizontally. Bring your thumb tips together lightly, creating an oval shape. This creates a closed circuit and provides biofeedback—when your thumbs separate or press hard together, you're either spacing out or tensing up.
Gyan mudra: Create small circles by touching your index fingertip to your thumb tip on each hand. Rest your hands on your knees with palms facing up (receptive energy) or down (grounding energy). You'll see this in yoga-based meditation practices.
Simple rest position: Rest your hands on your thighs or knees, either palms down for grounding or palms up for openness. No complicated finger positions required.
Hands in lap: Simply rest both hands in your lap, one atop the other or side by side, palms facing up.
Palms-up positions tend to create a slightly more open, receptive feeling. Palms-down positions feel more grounded and contained. Honestly? The differences are subtle. Experiment to find what feels natural.
The functional purpose of any hand position is eliminating fidgeting. Your hands need a default position so you're not unconsciously adjusting them every thirty seconds. Beyond that, the specific mudra matters less than consistency—use the same position each session to build a physical anchor for your practice.
Key Alignment Points for Any Sitting Position
Regardless of which meditation position you choose, these alignment principles apply across the board.
Spine: Picture a string pulling the crown of your head gently toward the ceiling. Your spine should feel lengthened but not rigid. Keep the natural curves—slight inward curve at the lower back, slight outward curve at the upper back. Avoid military straightness (which creates tension) and avoid collapse (which restricts breathing).
Head and neck: Balance your head so your ears stack directly over your shoulders. Tuck your chin very slightly—just enough to create a tiny double chin. This lengthens the back of your neck and prevents the forward head posture that strains neck muscles and triggers headaches.
Shoulders: Here's a quick reset: lift your shoulders up toward your ears, then pull them back and down. Let them settle in this open position without forcing anything. Your shoulder blades should slide gently down your back. This opens your chest without making you puff out like a pigeon.
Pelvis: Tilt your pelvis slightly forward (anterior tilt). This is the key that unlocks everything else in your alignment. When your pelvis tips forward, your lumbar spine naturally curves inward, your chest opens automatically, and your head balances easily on top. Most people need to sit on an elevated surface to achieve this tilt—it won't happen sitting flat on the floor.
Hip elevation: Your hips must be higher than your knees. This isn't negotiable for comfortable sitting. Use cushions, folded blankets, or benches to achieve 3-6 inches of elevation. More flexible people need less height; tighter hips need more. Simple rule: if your knees point up toward the ceiling, you need more height.
Knee placement: If you're sitting cross-legged, both knees should ideally touch or approach the ground. Floating knees indicate tight hips and will cause discomfort within minutes. Keep adding height under your sit bones until your knees descend toward the floor.
Muscle engagement: You need just enough core engagement to maintain your spine's position—about 15-20% effort. Everything else should release. Periodically scan your body: jaw, shoulders, hands, belly. Release any gripping you don't actually need.
Choosing Comfortable Meditation Seating and Props
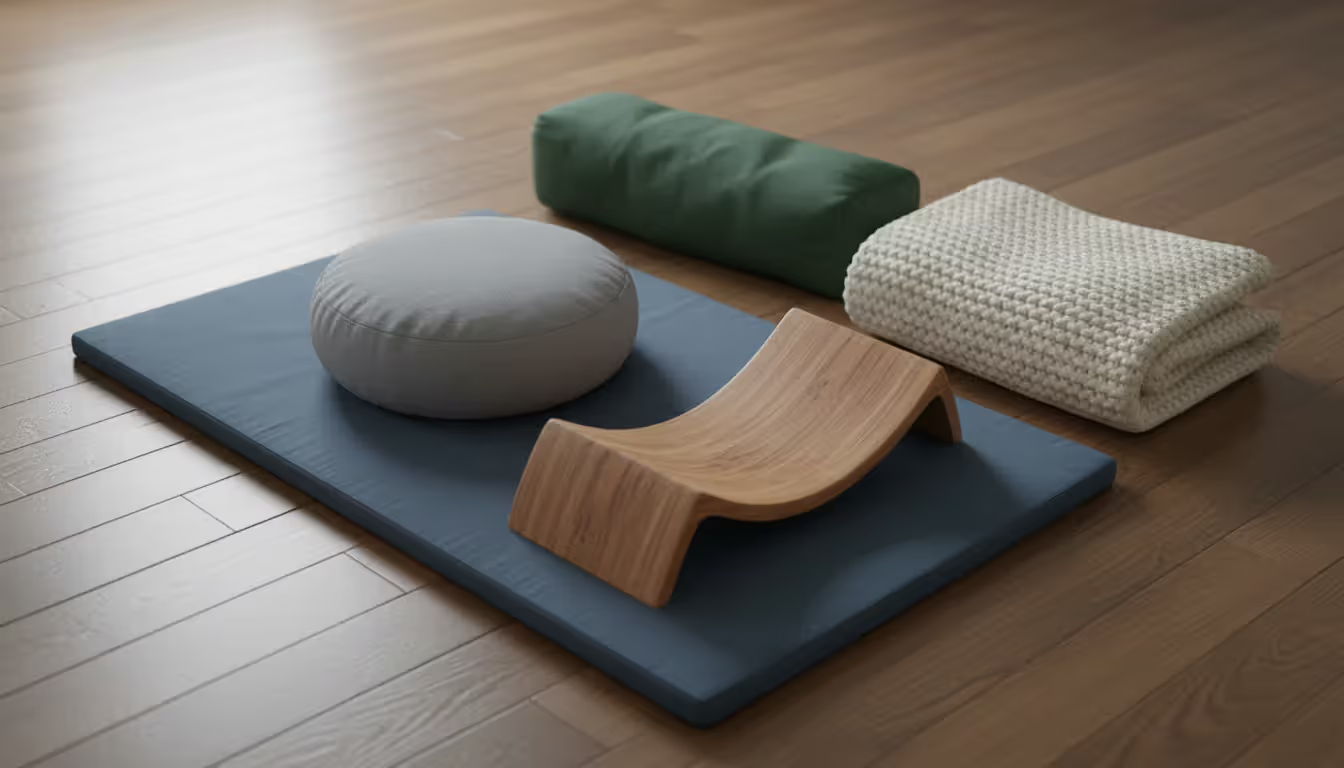
The right props transform meditation from a flexibility contest into a sustainable practice. Here's what each option delivers:
Seating Type
Best For
Flexibility Required
Price Range
Portability
Zafu cushion
Cross-legged sitting
Moderate to high
$30-$80
High - weighs 2-4 lbs
Meditation bench
Kneeling (seiza)
Low hip, moderate ankle
$40-$120
Moderate - some fold flat
Yoga bolster
Supported cross-legged or reclining
Low to moderate
$35-$90
Low - bulky and heavy
Chair
Any flexibility level
None
$0-$200
Low - stationary furniture
Zabuton mat
Knee/ankle padding under cushion or bench
N/A
$25-$70
Moderate - rolls up
Zafu cushions are those round, firm cushions traditionally stuffed with buckwheat hulls or kapok fiber. They provide the hip elevation you need for cross-legged positions. Choose one that's 5-6 inches tall if you have average flexibility, taller if you're tight, shorter if you're very open.
Meditation benches angle your pelvis forward while supporting your weight, removing pressure from your ankles and knees. Look for benches with 6-8 inches of clearance and a slight forward tilt (around 5 degrees). The angled seat does the postural work for you.
Yoga bolsters work well for supported positions. Place one under your sit bones for extra height in cross-legged positions, or use one behind you to lean against during longer sessions (though this reduces the alertness benefit of unsupported sitting). They're rectangular and firm.
Chairs are underrated in meditation circles. A firm dining chair works better than a soft office chair. The key is sitting away from the backrest—your spine needs to support itself. If your feet don't reach the floor, place books or blocks under them to maintain proper alignment.
Zabuton mats are flat, firm cushions (usually 2 inches thick) that pad your knees and ankles. They go under your zafu or bench to protect your joints from hard floors. Highly recommended if you're sitting on wood or tile.
Investment priority: Get adequate height under your hips first (cushion or bench), then add padding under your knees (zabuton) if needed. You don't need expensive gear—folded blankets work fine when you're starting. I practiced on stacked towels for my first year.
Author: Caleb Montrose;
Source: 5sensesspa.com
Can You Meditate Lying Down or in Other Positions?
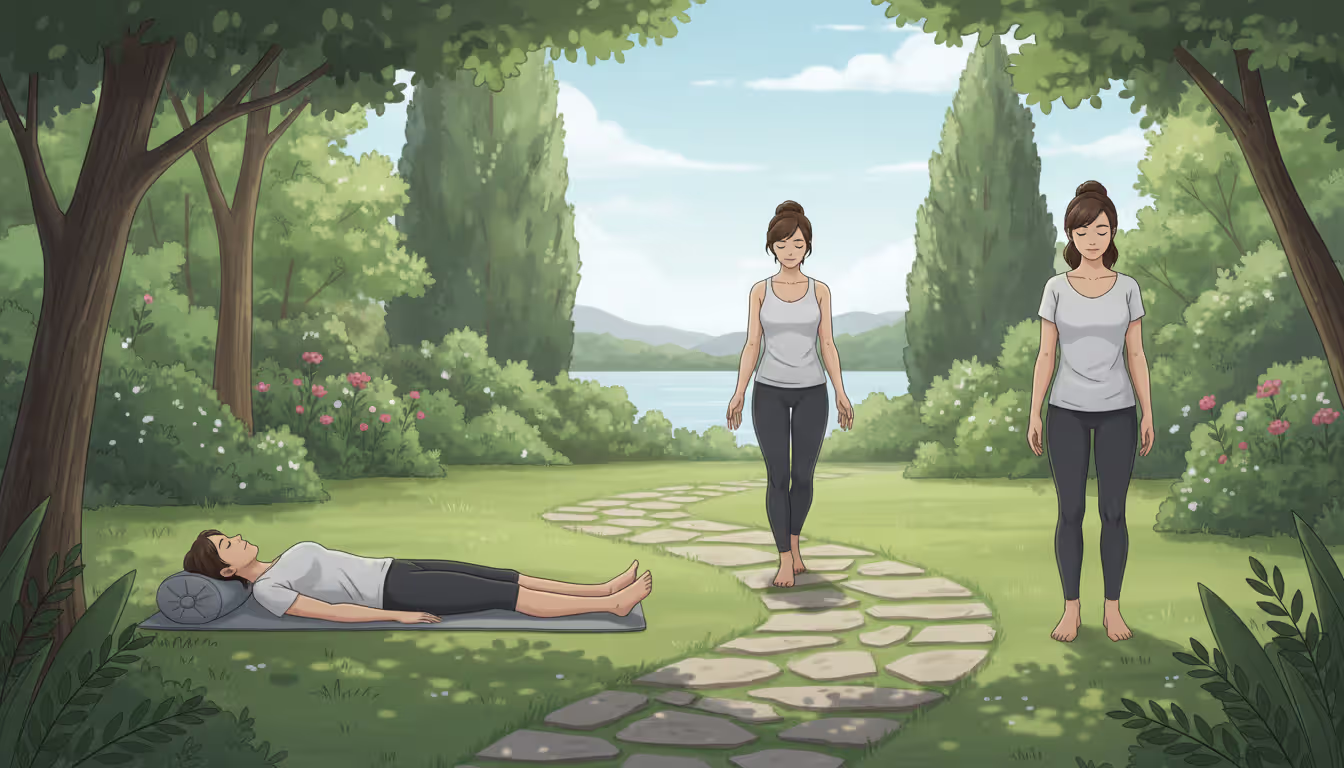
Lying down meditation is legitimate but comes with a significant trade-off: you'll probably fall asleep. The supine position triggers sleep associations built over your entire lifetime and reduces alertness substantially. If you're practicing relaxation or yoga nidra, lying down is appropriate. For concentration or insight meditation, it undermines what you're trying to accomplish.
When lying down works: Body scan meditations, progressive relaxation, practices specifically designed to ease you toward sleep, or when injury prevents sitting upright.
Setup if you do it: Lie flat on your back with legs extended or knees bent, feet flat. Slide a small pillow under your head and another under your knees to reduce lower back strain. Rest arms at your sides or hands on your belly, palms down.
Walking meditation offers an excellent alternative to sitting. You maintain alertness while moving slowly and deliberately, coordinating each step with breath. This works well for people with physical limitations that make sitting painful, or as a complement to sitting practice. Try it when your legs fall asleep after 15 minutes of sitting—it's a practice, not a failure.
Standing meditation appears in some traditions (particularly qigong and certain Zen schools). It builds strength and presence but requires significant leg endurance. Most people find it too physically demanding for sessions longer than 10-15 minutes. Your legs will shake.
The sitting meditation pose remains the gold standard because it balances stability with alertness perfectly. Your body is still enough to quiet down but engaged enough to stay awake. Alternative positions serve specific purposes but don't replace the unique benefits of upright sitting.
Author: Caleb Montrose;
Source: 5sensesspa.com
Common Posture Mistakes and How to Fix Them
Slouching or leaning: Your upper back curves forward, head juts out, chest caves in. This typically happens when your hips aren't elevated enough or you're trying to relax by going completely limp.
Fix: Add more height under your sit bones—often another 2-3 inches does it. Picture your spine as a stack of coins, each vertebra balanced on the one below. Engage your core muscles lightly, maybe 20% effort.
Forcing "perfect" posture: You're holding yourself rigid in an idealized position that requires constant muscular effort. Your shoulders are pinned back unnaturally, your back feels stiff, you're working hard to maintain the position.
Fix: Release about 30% of your effort. Posture should feel like alert ease, not military stance. Your spine has natural curves—honor them instead of trying to flatten them out.
Ignoring pain signals: You push through sharp joint pain because you think you should be able to sit in a particular position. Your knees, ankles, or hips actually hurt, but you continue anyway because "no pain, no gain," right? Wrong.
Fix: Learn to distinguish between muscle stretch (dull, gradually easing sensation) and joint pain (sharp, worsening sensation). Change positions immediately if you feel joint pain. Meditation shouldn't injure you. This isn't CrossFit.
Inadequate support: You're sitting on a thin cushion on a hard floor, or directly on the floor with no elevation whatsoever. Your knees end up around your ears, which would be funny if it didn't hurt so much.
Fix: Stack blankets, use couch cushions, sit on a thick phone book—whatever gets your hips significantly higher than your knees. Proper support isn't optional; it's foundational to sustainable practice.
Holding tension: Your jaw is clenched, shoulders are creeping up by your ears, hands are gripping, or belly is rigidly held.
Fix: Run a body scan every few minutes initially. Specifically check jaw, tongue, shoulders, hands, and belly. Release any gripping that isn't necessary for maintaining your position. You'd be surprised how often you're white-knuckling your way through "relaxation."
Constantly adjusting: You shift position every minute, trying to find comfort that never arrives. You're fidgeting, repositioning, adjusting like you're trying to find the perfect sleeping position.
Fix: Make one deliberate adjustment, then commit to stillness for at least five minutes. Small discomforts often pass if you don't react to them immediately. Part of the practice is learning to be with minor discomfort without needing to fix it instantly.
Frequently Asked Questions About Meditation Posture
How long does it take to get comfortable in lotus position?
Realistically? Most people need 6-12 months of dedicated hip-opening yoga practice before lotus becomes comfortable without forcing. Some body types—particularly those with deeper hip sockets or shorter femurs—may never find it accessible without risking knee damage. Here's the truth: lotus isn't necessary for effective meditation. Many experienced practitioners with 20+ years of daily practice never use it. If you want to work toward it, focus on hip flexibility exercises like pigeon pose and butterfly stretch, and gradually progress from Burmese to half-lotus over months, not weeks.
Should my meditation posture feel uncomfortable at first?
You should expect some muscle fatigue as you build endurance in positions your body isn't used to—that's completely normal and typically decreases over 2-3 weeks. Sharp pain, joint discomfort, or numbness that gets progressively worse? Those are warning signs, not obstacles to push through. The right posture should feel sustainable with minor adjustments. If you're genuinely miserable after five minutes, something needs to change: add height, switch positions, or use more support.
What's the best meditation position for beginners?
Chair sitting or Burmese position on a well-elevated cushion. These provide stability without requiring flexibility you haven't developed yet, so you can focus on meditation itself rather than battling your body. As one teacher put it: the best position is the one you'll actually use consistently. Starting with an accessible posture builds the habit; you can explore other positions later once you've established a regular practice.
Do I need to sit cross-legged to meditate properly?
Not at all. Cross-legged positions are traditional in cultures where floor-sitting is common daily practice, but they're not inherently more "meditative" than other stable postures. Chair sitting produces identical mental benefits when your alignment is correct. What actually matters: a stable base, upright spine, and sustainable comfort. Some of the most accomplished meditators in Western contexts—people with decades of practice—sit in chairs because it works for their bodies.
How high should my meditation cushion be?
Your cushion height should elevate your hips enough that your knees drop below hip level and your pelvis tilts slightly forward naturally. For most people with average flexibility, that translates to 4-6 inches of firm cushion height. Tighter hips often need 6-8 inches or more. Here's the test: sit on your cushion. If your knees float up or your lower back rounds backward, add more height. If you feel perched too high and unstable, reduce slightly. Everyone's different.
Is it okay to switch positions during meditation?
Yes, particularly during longer sessions. Moving mindfully when you genuinely need to prevents injury and teaches you to respond to your body's signals with awareness rather than automatic reaction. The key? Making deliberate adjustments rather than constant fidgeting. If you need to shift, do it consciously: pause, notice the discomfort, make one clear adjustment, then resettle completely. During shorter sessions under 20 minutes, try to remain still to build concentration capacity.
Your meditation posture creates the physical container for your practice. When you get the alignment right and your position feels stable, your attention can settle instead of constantly managing discomfort and distraction.
The specifics matter less than the principles: elevate your hips, stack your spine, relax everything that doesn't need to work.
Start with the most accessible position—usually a chair or Burmese position on adequate cushions. Focus on what you can sustain rather than achieving some idealized form you saw in a magazine. As your practice deepens over weeks and months, your body adapts, and positions that felt impossible can become natural.
The goal isn't perfect posture. It's finding a position you can maintain with minimal distraction, allowing your mind to do the real work of meditation. Experiment with different options, invest in proper support (even if that's just folded blankets), and remember that comfort and alertness aren't opposites—they're partners in building a practice that lasts years instead of weeks.
Meditation produces measurable changes in brain structure, nervous system function, and emotional regulation. Learn what meditation actually does, common reasons people start practicing, and science-backed benefits for mental and physical health that explain why millions now meditate regularly
Meditation has a reputation for being simple: sit down, close your eyes, breathe. Yet anyone who's tried it knows the reality feels nothing like that tidy description. Your legs ache, your mind races through grocery lists and old arguments, and the promised calm seems reserved for people who aren't you
Meditation didn't emerge from a single moment of invention. Archaeological evidence places the earliest practices at roughly 5,000 to 7,000 years ago, with wall art from the Indus Valley showing figures in meditative postures. The practice developed across multiple civilizations independently
Meditation falls into three research-backed categories: focused attention, open monitoring, and self-transcending. Understanding this framework helps you choose from 12 common techniques based on your goals, experience level, and lifestyle rather than getting lost in endless options
The content on this website is provided for general informational and educational purposes only. It is intended to explain concepts related to meditation, mindfulness, mental health, and spiritual practices.
All information on this website, including articles, guides, and examples, is presented for general educational purposes. Meditation outcomes may vary depending on individual practices, health conditions, and guidance.
This website does not provide medical, mental health, or spiritual advice, and the information presented should not be used as a substitute for consultation with qualified professionals.
The website and its authors are not responsible for any errors or omissions, or for any outcomes resulting from decisions made based on the information provided on this website.